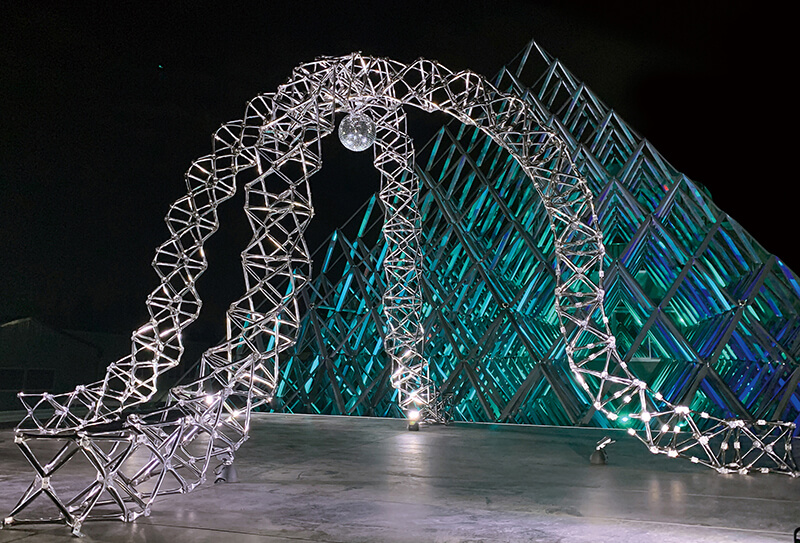
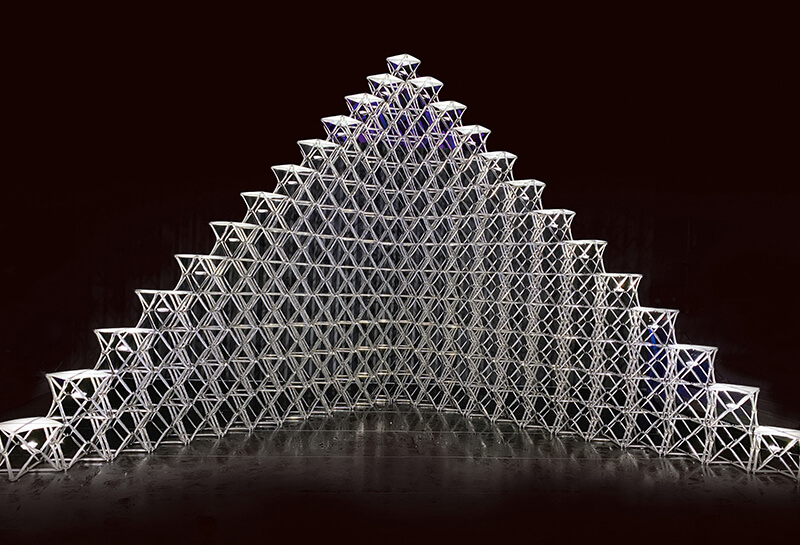
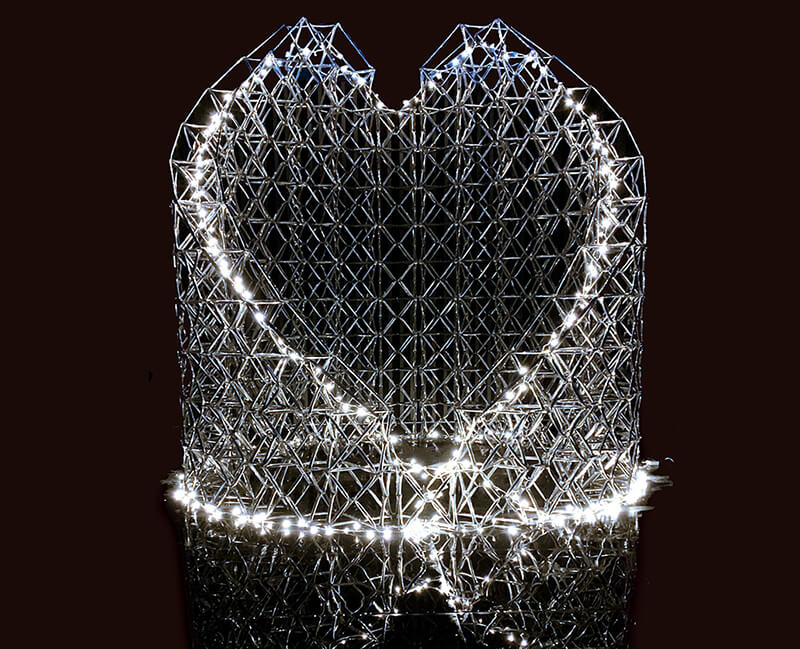
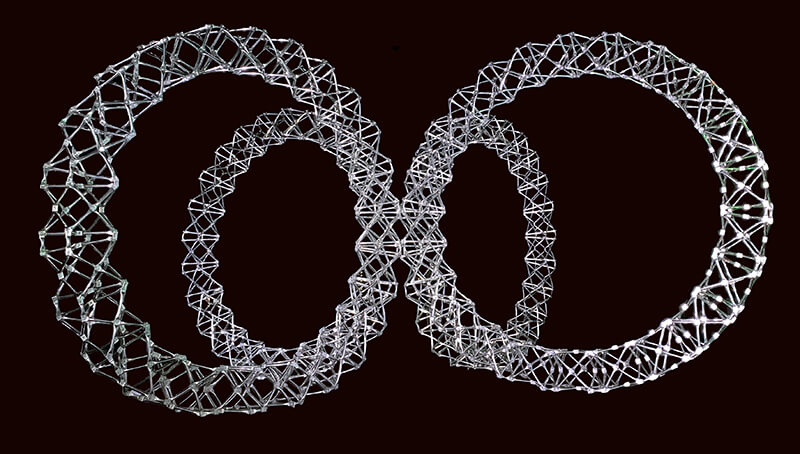
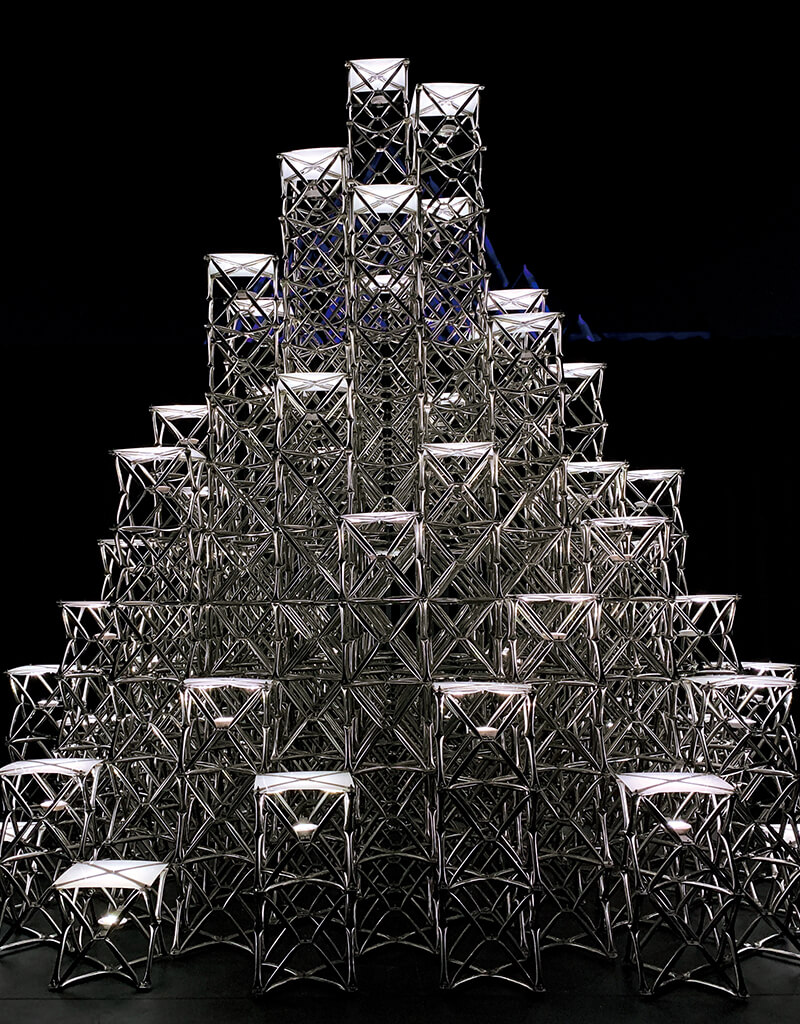
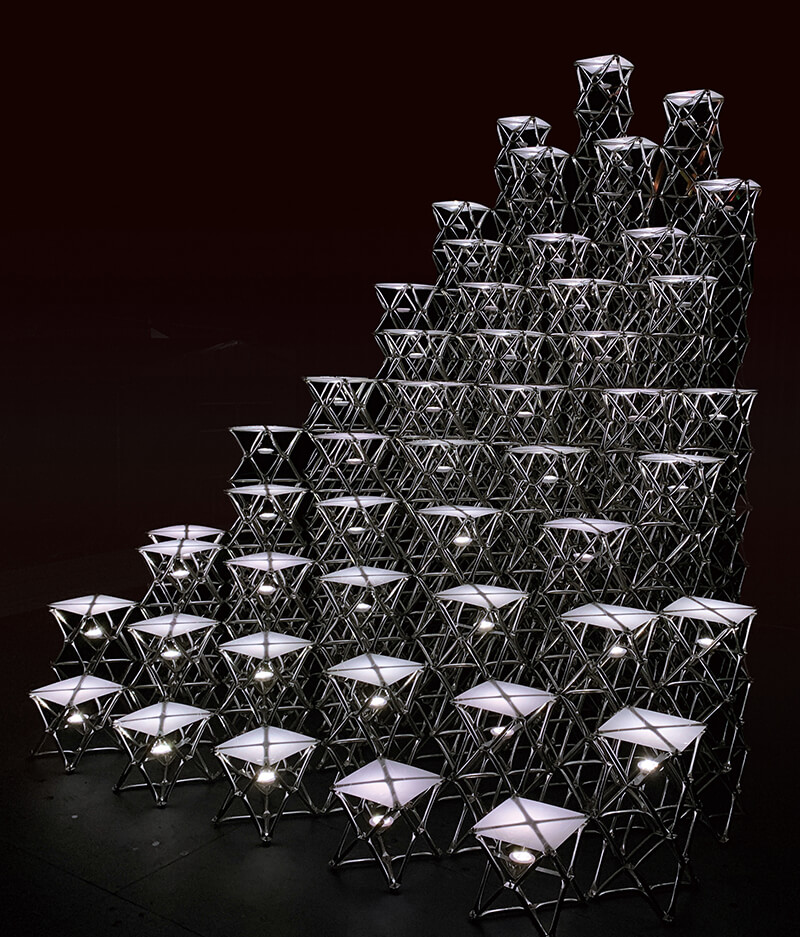
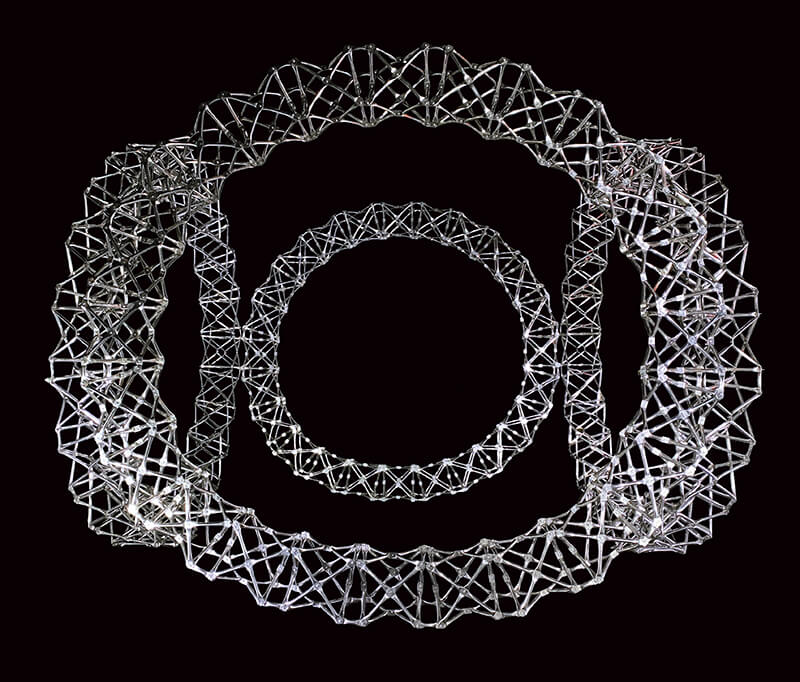
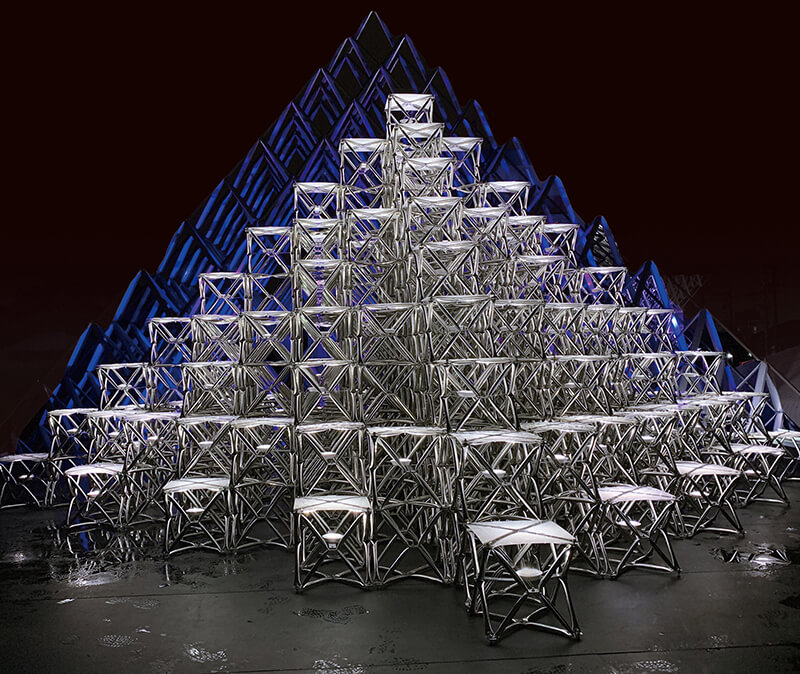
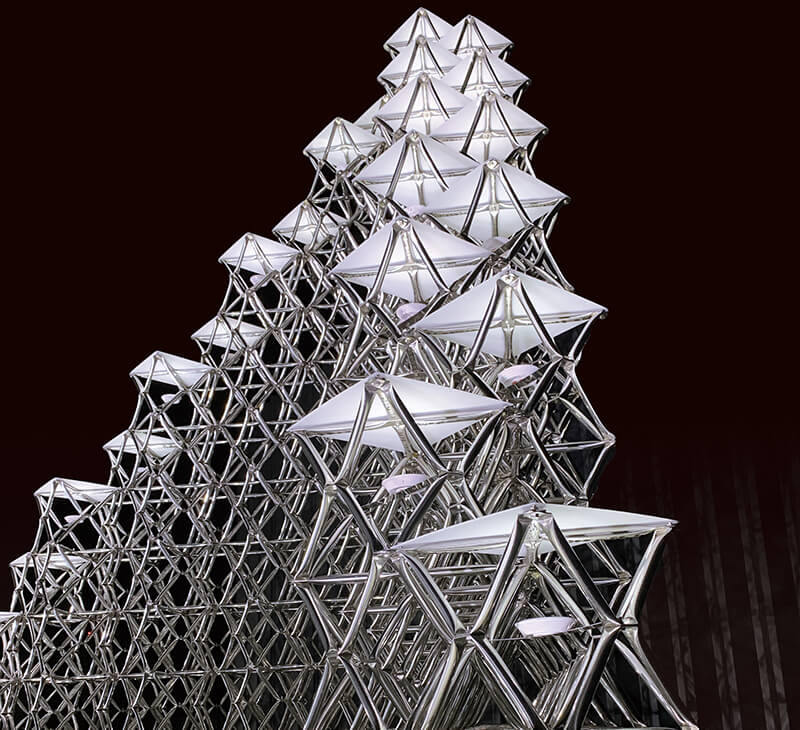
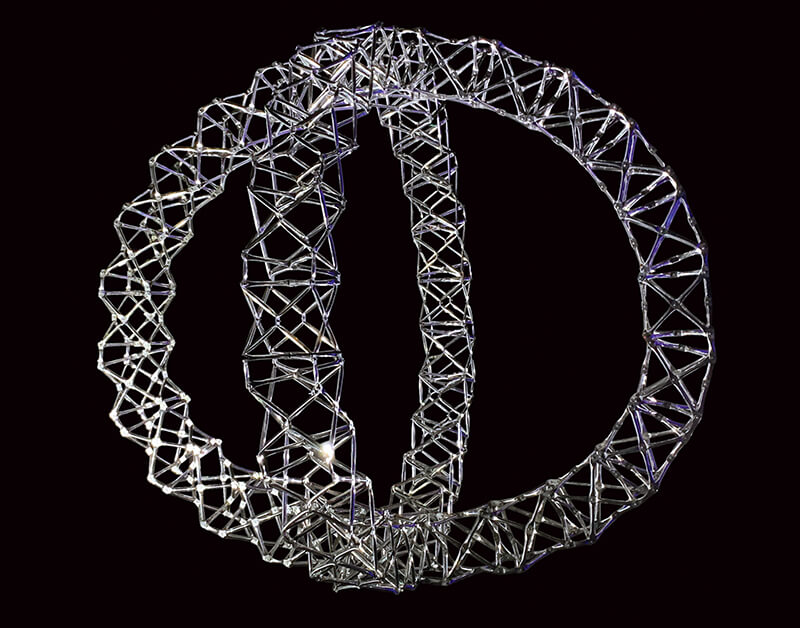
2種類のパイプ状のフレームで構成されたキューブ型をベースに、
ブロック遊びの感覚で複数のキューブを組み合わせれば、立体装飾トラスが作れます。
組み立て方
\ 材料 /
![](https://www.yanekabe.net/wp/wp-content/themes/takayanagi_theme/images/cube/cube_step00.png)
![](https://www.yanekabe.net/wp/wp-content/themes/takayanagi_theme/images/cube/cube_step01.png)
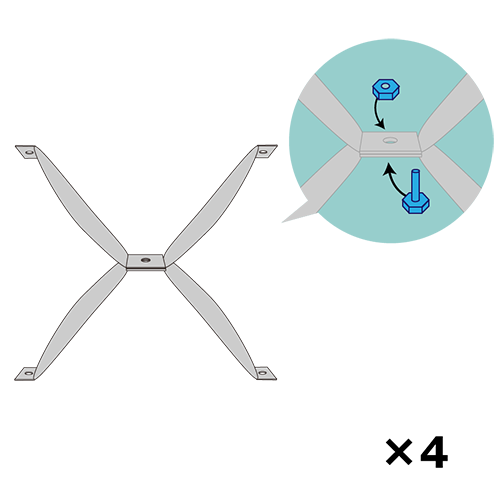
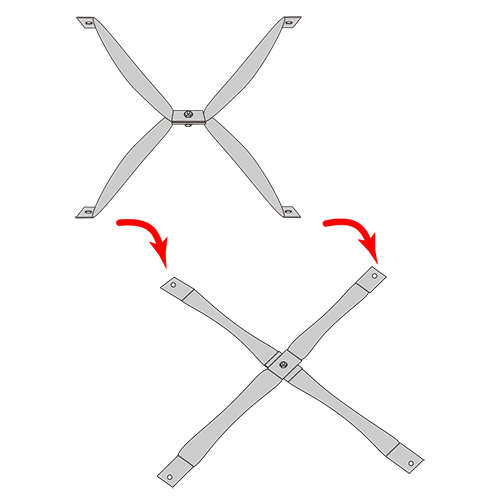
山形フレームの頂点を合わせて、ボルトを通しナットで固定する。同じものを4組作る。
![](https://www.yanekabe.net/wp/wp-content/themes/takayanagi_theme/images/cube/cube_step02.png)
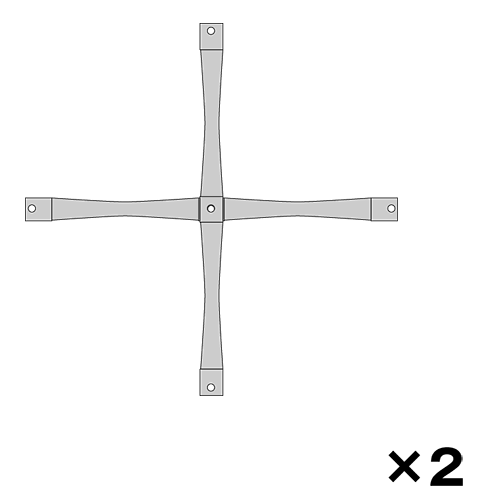
平フレーム2本をクロスさせ、中央の穴にボルトを通しナットで固定する。同じものを2組作る。
![](https://www.yanekabe.net/wp/wp-content/themes/takayanagi_theme/images/cube/cube_step03.png)
②のクロスしたフレーム1つを下に置き、その端部の穴と①で組み合わせた山形フレームの端部の穴を二カ所ずつボルトを通し、ナットで固定する。
![](https://www.yanekabe.net/wp/wp-content/themes/takayanagi_theme/images/cube/cube_step04.png)
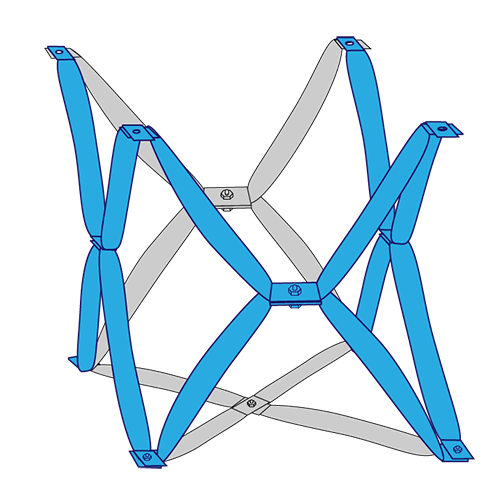
組み合わせた山形フレーム残り3つも同様に端部の穴を二カ所ずつボルトを通し、ナットで固定する。
![](https://www.yanekabe.net/wp/wp-content/themes/takayanagi_theme/images/cube/cube_step05.png)
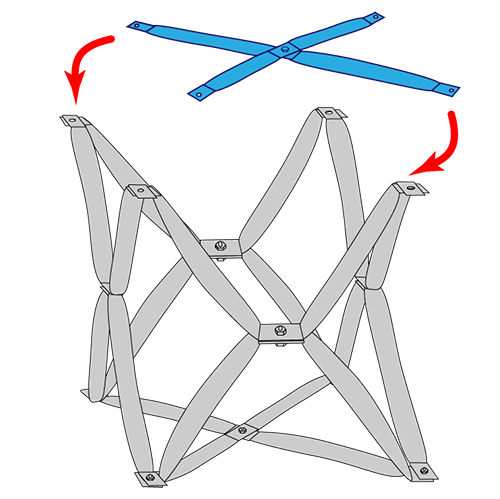
クロスしたフレームを上部に起き、4隅の穴にボルトを通しナットで固定する。
![](https://www.yanekabe.net/wp/wp-content/themes/takayanagi_theme/images/cube/cube_step06.png)
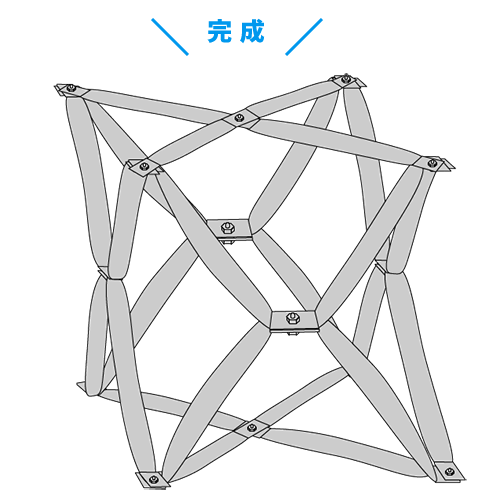
すべてのナットをボックスレンチで固定し、完成!